Showing posts with label holiday. Show all posts

Wednesday, February 12, 2014

Fantastic Peppermint Chocolate Cupcakes


Finally! A recipe that is still up on my iPad browser so I can share the actual ingredients with you. Yay! Catching up is incentive to not get behind again.

But more exciting news: THESE WERE DELICIOUS. Like, everyone loved them. I loved them. I ran out of confectioner's sugar, so they were more cream cheese savory than super sweet, and that, I think, is the difference. Also, I added cinnamon to the cupcakes because I think all desserts taste better with cinnamon (or cardamon, or something).

So make these. Even if it isn't holiday time. They are super, extra, definitively worth it. Yumtown, population: these guys.


Cupcakes

2 cups sugar
1 3/4 cups all purpose flour
3/4 cup unsweetened cocoa (best quality available) [I just used Trader Joe's]
1 1/2 teaspoons baking powder
1 1/2 teaspoons baking soda
1 teaspoon salt
1 teaspoon cinnamon [my addition]
2 eggs
1 cup whole milk
1/2 cup vegetable oil
2 teaspoons vanilla extract (best quality available)
1 cup boiling water

Line muffin tin with paper liners. Heat oven to 350*F.

In a large mixing bowl, stir together sugar, flour, cocoa, baking powder, baking soda and salt.
Add eggs, milk, oil and vanilla. Beat on medium speed for one minute.
Stir in boiling water (the batter will be thin, don’t worry, this is right).
Fill liners 2/3 full with batter. (I usually put the batter into a large measuring cup with a pour spout, and then pour the batter into the liners.)
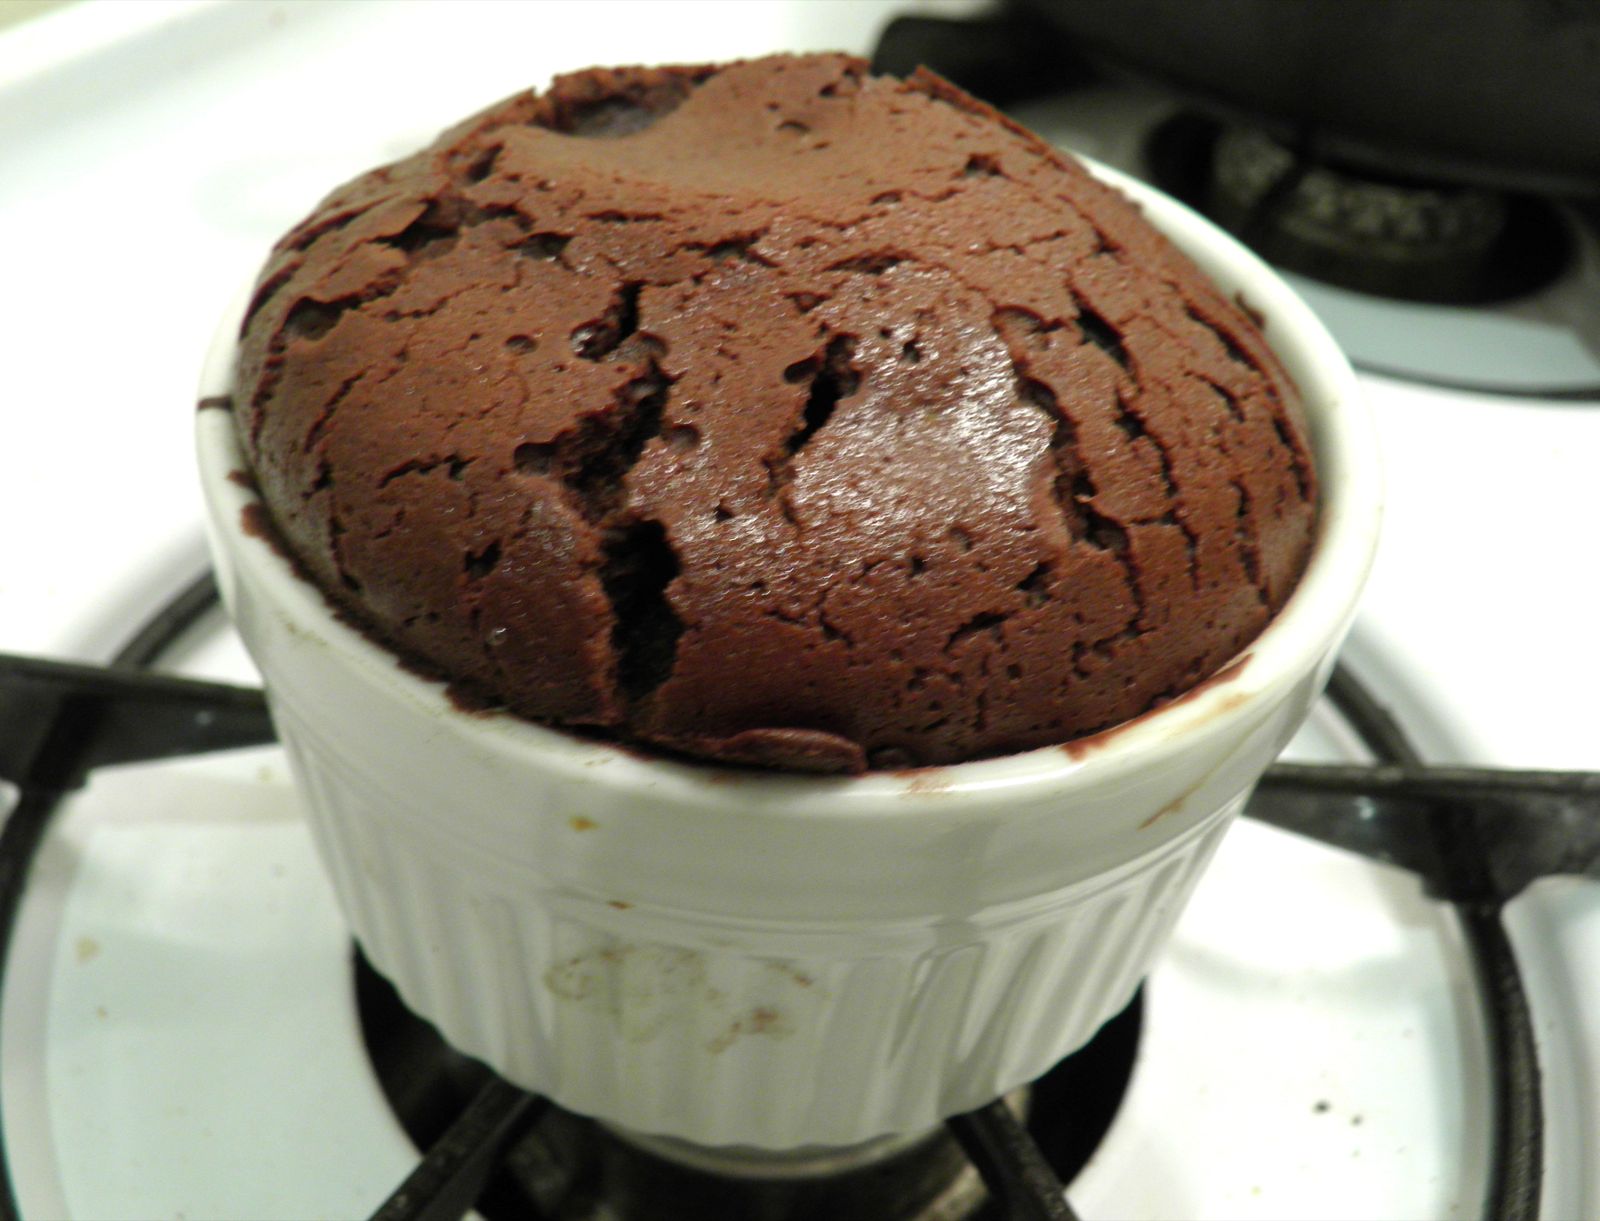
Bake cupcakes for approximately 22-24 minutes.
Cool completely on wire rack before frosting.

Frosting

1/2 cup (1 stick, 8 Tablespoons) butter, at room temperature
6 oz. cream cheese, at room temperature (about 3/4 of a regular block of cream cheese)
4 cups powdered confectioners sugar [I probably only used 3 cups]
1 teaspoon pure peppermint extract [didn't have this, I mixed in 4 crushed candy canes]
1/2 teaspoons pure vanilla extract
1 to 3 Tablespoons heavy cream, heavy whipping cream (or milk- although I do like the richness that cream adds)

Place butter in a large mixing bowl and blend slightly. Add cream cheese and blend until combined, about 30 seconds.

Add powdered sugar (a little at a time) and blend on low speed until combined. Increase to medium speed and beat until it begins to get fluffy. 
Add vanilla and peppermint extracts. 
Slowly add the heavy cream, a little bit at a time until desired consistency is met. (Don’t add too much if you want the frosting to stay in place when piped on cupcakes.)
Beat until fluffy, about 1 minute.

[I put 4 or 5 candy canes in a bag and beat it pretty much to dust using my rolling pin {you're welcome, neighbors} and then mixed that in at the end with a spoon, not the mixer.]

Use at once or keep refrigerated. (This frosting will keep well in the refrigerator for several days, but you may need to re-beat it for the best texture.) [I took these to work and transported the cupcakes and frosting separately so it wasn't a hot mess. I'm learning!]

To achieve the red stripe in the frosting:  Before filling a large piping bag with frosting, add some red gel food coloring to a toothpick, and draw two (vertical) lines with the red dye on the inside of the piping bag. Then carefully fill the piping bag with frosting.  Squeeze some frosting into a bowl until you begin to see the red stripe, then frost the cupcakes.
[I mostly failed at this because I was lazy and just swirled in red food coloring to the frosting and then frosted. Whatever, pink is still festive and communicates the point.]

Top cupcakes with some crushed candy canes (they will ”melt” after a bit, so they need to be served right away) or a small piece of peppermint bark (I used a little peppermint Andes candy).

Sunday, February 9, 2014

Christmas Cupcakes

Super simple, just wanted to make some cupcakes to take to work that were Christmas-y. Plus I love using food coloring (ask my mom - I used to make awfully colored pancakes as a kid, you're welcome for helping with brunch) and seem to always have a lot of holiday sprinkles in stock.

Trader Joe's cocoa powder provided the recipe for this one, and then I just made basic frosting to go with. I think I did a basic butter and powdered sugar frosting, but must have added a bit of milk and vanilla to have the consistency (less stiff). But potentially that's just an effect of my proportions and/or food coloring.


Trader Joe's "The Greatest and Easiest Chocolate Cake"
3 1/3 cup flour
1 1/3 cup cocoa
3 cups sugar
1 tbsp baking soda
1 tsp salt
12 oz butter
3 cups buttermilk (I likely used regular milk)
5 eggs
1 tsp vanilla

Preheat oven to 350 degrees
Grease and flour two 9" round baking pans or line cupcake cups with liners

Place all ingredients in electric mixer bowl and beat on high speed for 3 minutes, scraping down sides of bowl once during mixing. Pour into prepared pans or cupcake cups [I like to pour into a measuring cup with spout to make this easier to use a measuring cup to scoop and pour - mostly for neatness sake].  Bake cakes for about 55 min or cupcakes for 20-25 minutes, until toothpick comes out clean.

Let cool before frosting; otherwise, they will make the frosting melty and make a mess.


[I usually don't use all the frosting, so perhaps use half the recipe for starters]

2 sticks butter, at room temperature
3 cups confectioners’ sugar
1 teaspoon salt
1 teaspoon vanilla extract
2 tablespoons whole milk

In a large bowl, or in the bowl of a stand mixer, combine butter, confectioners’ sugar, and salt. Beat on low speed until combined, about 2 minutes. Scrape the sides of the bowl with a spatula, then increase speed to medium high and beat until fluffy, about 3 minutes. Stop mixer, add the vanilla and milk, then continue beating 3 minutes on medium high on a stand mixer, or 5 minutes on a handheld mixer.

Friday, December 21, 2012

iced gingerbread cookies

Looks like my posts/recipes are out of chronological order. I suppose it doesn't matter too much. I'm letting my phone connect to google plus so I can access my cooking phone photos via blogger directly without having to download them and take up memory I don't have available on my grandpa of a computer, but g+ seems to be willy nilly picking them and not going in any order. As you wish, google.

I made this recipe a few nights ago because I had some free time, and I felt like doing something that might make me feel a little more in the Christmas spirit. I had made gingerbread cookies a few weeks ago when I first got to NYC and had time to kill during Hurricane Sandy, and they turned out really well. I used a different recipe for these, and they were a lot drier. They crumbled from dough to rolling. I gave up on rolling and just balled them up and flattened them out, hence their plain jane shape. Then I was grateful for our funky oven and having a dish of water to keep them moist; otherwise, I'm sure they'd have been dry and terrible. Luckily they turned out okay, and once I put the icing on, I was surprised that they were actually pretty good. A stroke of luck and sugar. I decided to decorate them in Christmas colors as well as good luck cookies for my roommate's finals! I'm pretty sure she nailed them, and I'll take a point or two of credit from the snacks. :)


3/4 cup packed dark brown sugar
1 stick butter or margarine, softened
2 large eggs
1/4 cup molasses
3 3/4 cups all-purpose flour, plus more for dusting work surface
2 teaspoons ground ginger
1 1/2 teaspoons baking soda
1/2 teaspoon ground cinnamon
1/2 teaspoon freshly grated nutmeg
1/2 teaspoon salt


1 cup confectioners' sugar, sifted
1 to 2 tablespoons milk
Food coloring, as desired
*I loosely measured and then added milk and sugar until I got a consistency that was spreadable but would harden after a bit

Using an electric mixer at low speed, cream the sugar and butter until thoroughly combined. Add the eggs and molasses and mix until combined. Sift together the flour, ginger, baking soda, cinnamon, nutmeg, and salt. Add the dry ingredients to the butter mixture and combine with a spoon or spatula.

Remove the dough from the bowl and wrap in plastic wrap; place in the refrigerator until firm, about 1 hour.

Preheat the oven to 350 degrees F.

Line cookie sheets with parchment paper. Allow the dough to sit at room temperature for about 15 minutes, until pliable. Take about 1/2 cup of dough at a time and roll onto a floured board until about 1/8-inch thick. Cut out with gingerbread boy and girl cookie cutters. You can re-roll the scraps. Using a spatula, transfer the cookies from the board to the prepared cookie sheets.

Bake for 10 minutes, until just beginning to brown at the edges. Transfer to wire racks to cool.

To make the icing, combine the confectioners' sugar and milk. Divide the mixture into thirds; leave 1/3 white, and color 1/3 green and the final third red. Decorate piping eyes, mouths, buttons, and bow ties.

Wednesday, February 15, 2012

valentines: molten chocolate cake

I was going to make my souffle cupcakes with white chocolate cream for my special valentine's dessert, but as I'm not very observant, I ended up having 2 kinds of chocolate and 0 kinds of white chocolate in the pantry. And as much as I wanted to make my boyfriend an incredible dessert, I wasn't going to the grocery store at 5 pm on v-day. So I spent about 20 minutes prowling the interwebs for a good chocolatey recipe (little did I realize that our dinner would be straight out of Chocolat) and found this one for a molten chocolate cake. First of all, it was delicious and I was very proud of it. Second of all, it was very easy. Third of all, I sort of expected that lava centered melted explosion to happen, but that is not this cake. It is denser and moister in the middle, so I can see the "molten" part, but if you want the chocolate to come pouring out, I don't know. Find a different recipe, I guess. My boyfriend suggested that you have to stick a hershey's kiss or something in the middle, but I haven't tested that theory yet.


*I make 1/2 the recipe for 2 servings, below is the full recipe


1 stick unsalted butter, plus melted butter for brushing
1 tablespoon unsweetened cocoa powder
1/4 cup plus 1 tablespoon all-purpose flour
6 ounces dark chocolate (70 percent cacao), chopped
1/2 cup granulated sugar
3 large eggs, at room temperature
Pinch of salt
Confectioners' sugar for sprinkling


Preheat the oven to 425°. Brush four 6-ounce ramekins with melted butter. In a small bowl, whisk the cocoa powder with 1 tablespoon of the flour; dust the ramekins with the cocoa mixture, tapping out the excess. Transfer the ramekins to a sturdy baking sheet.

In a medium saucepan, melt 1 stick of butter with the chocolate over very low heat, stirring occasionally. Let cool slightly.

In a bowl, using an electric mixer, beat the granulated sugar with the eggs and salt at medium-high speed until thick and pale yellow, 3 minutes. Using a rubber spatula, fold in the melted chocolate until no streaks remain. Fold in the 1/4 cup of flour. [We ended up having a lot of time left to cook dinner and this was already ready, but I knew I wanted to serve it warm. I let it sit out for a while and then refrigerated it for a while, and there didn't seem to be any problem - just in case you find you need to do the same. It's definitely key to serve it warm. And probably with whipped cream or ice cream, even though it is crazy dense and filling.]

Spoon the batter into the prepared ramekins. Bake in the center of the oven for 16 minutes, until the tops are cracked but the centers are still slightly jiggly. Transfer the ramekins to a rack and let cool for 5 to 8 minutes.

Run the tip of a small knife around each cake to loosen. Invert a small plate over each cake and, using pot holders, invert again. Carefully lift off the ramekins. Dust the warm cakes with confectioners’ sugar and serve immediately.

valentines: chocolate covered strawberries

Enter recipe 1 from the Valentine's Day extravaganza!! Okay, it wasn't an extravaganza, but it was extra delicious and sweet and so much better than going out or doing anything else. My boyfriend made me dinner (we'll get to that in another post, but basically, mind=blown) and I made desserts. Item 1 was chocolate covered strawberries. Everyone was selling them (I didn't realize that was the v-day option, other than flowers and chocolates), so I thought, why don't I make some myself? Not only was it less expensive (not that that's why), but I love new cooking projects and this was super easy. Do you have dark chocolate and strawberries? Oh okay, you're pretty much there.

Okay, there isn't really a recipe. Basically, use semisweet chocolate (I used Baker's baking chocolate) and white chocolate (I thought I had some and didn't want to mess with the hordes at the grocery store, so we did without, but I would have liked some). I made about 10-12 strawberries with 4 or 5 oz of chocolate (I started with 3 oz added more later and now I can't remember how much).

Use a double boiler (say whaaat???) to heat the chocolate. In case you don't have one (like me), it's so easy to replicate that it's almost silly. Get a saucepan and put some water in it. Put a bowl in the saucepan that can get hot (like glass) that will sit above the water (so not sitting in it but resting on the sides). [See pictures below.] Turn the heat on the stove to high to get the water boiling. This creates a nice, warm, but not aggressive environment to heat up things like chocolate in.


Then you just dip your strawberries into the melted chocolate. After they are dipped, point them up to the ceiling a bit to get the chocolate to set before placing them on parchment paper. While they are still wet, you can sprinkle shredded coconut or grate nutmeg or pistachios (I did this because my boyfriend loves loves loves pistachios - you can't really taste it but the green looks pretty) or whatever floats your boat.


If you, unlike me, remember white chocolate, melt it in the same way as the dark, using a double boiler. Then you can do all sorts of fun stuff like drizzling the white chocolate over the dark or dipping strawberries half in one and half in the other (you should wait for one to dry first, but you knew that) or making cute designs or writing stuff (like I wanted to). Then put them in the fridge for at least 30 minutes to harden and voila!
What matters most is that they are delicious, pretty, and for some reason, very romantic and exciting (I'm not arguing but it doesn't make much since - they are so simple!). I decorated my valentine's table like this so that when my boyfriend got home from working out, I had a little romantic set-up for us. Luckily, he liked it and didn't think it was too cheesy (or was sweet enough not to say so). The pink roses are from him. <3

Don't forget to read about dinner! It was incredible!
[note: does anyone play that Zynga Scramble game? If so, you will know what I mean about that voice and how it says amazing! incredible! etc and that's now how my brain says it.]

Monday, February 6, 2012

cheddar mustard beer pull apart bread

Hello superbowl food! I wasn't that excited about the game this year (a combination of still getting back into football after a few years abroad and out of it and not caring about the teams too much), but I knew I wanted to make some superbowl food to take with me to watch the game. I had made the banana cupcakes the day before, and then SK posted this recipe for savory pull apart bread, so I had my bases covered. I ended up watching most of the game at my boyfriend's friend's house (which is conveniently located around the corner from my apt), and as the only girl, I also had the only sweet and bread contributions (aka, they had just ordered wings and bought beer).

This was not so difficult to make, but I rarely feel overwhelmed by a recipe (well, one that involves baking anyway). I chose to make the dough the night before and keep it in the fridge and then finish it by making the filling and baking it a couple hours before the game. That probably contributed to me not thinking it was such a big undertaking. I also felt that it wasn't terribly hard to assemble the bread, which was a bit surprising. And although I wasn't completely sold the instant I ate it (you'd expect more cheese in every bite but it gets soaked into the bread or something), I ended up liking it and the guys took care of the rest handily.

 Yellow time: mustard sauce + dough + countertop = indistinguishable


Bread
4 tablespoons unsalted butter
1/4 cup plus 1/3 beer, preferably dark but really, use whatever you like to drink
2 1/2 cups all-purpose flour, divided
1/3 cup rye flour (use additional a-p flour if you don’t have this) [I used wheat]
2 tablespoons granulated sugar
2 1/4 teaspoons (1 envelope) instant yeast
1 teaspoon table salt
2 large eggs, at room temperature

Filling
3 tablespoon unsalted butter
1 tablespoon Dijon or a mustard of your choice
1 1/2 teaspoons Worcestershire sauce
Dash of hot sauce
1 teaspoon mustard powder
1 teaspoon paprika
1/2 teaspoon table salt
Several grinds black pepper
1 1/2 cups shredded cheddar [I did not measure out and probably used more]

Make dough:
In a small saucepan, heat the 4 tablespoons butter and 1/4 cup of beer, just until the butter has melted. Remove from heat and add the remaining 1/3 cup beer. Set aside to cool down slightly. You want the mixture warm (110 to 116 degrees), but not steaming hot.

Meanwhile, in the bowl of a stand mixer, stir together 2 cups of the all-purpose flour, sugar, yeast and table salt. With the mixer on low, pour in the butter-beer mixture, mixing only until the flour is moistened. Add eggs, one at a time, and mix until combined. The batter will look lumpy, but will become smooth in a moment. Add the remaining 1/2 cup all-purpose flour and all of the rye flour, mixing until just combined. Replace paddle with a dough hook and let the machine knead the dough for 3 to 4 minutes on low. [My mixer was not at its best with this recipe, so I ended up kneading it by hand.]

Oil a medium/large bowl and transfer dough to it. Cover loosely with plastic wrap and set aside for 50 to 60 minutes, until doubled. Meanwhile, prepare fillings.

[Do ahead: You can also rest the dough in the fridge overnight -- wrapped tightly with plastic. The next day, let it rest at room temperature for an hour before rolling out.]
[I wasn't clear on whether I should let it rise for an hour and THEN put it in the fridge, so I didn't, but I think that would have been the correct way to do it.]


Make filling: 
Back in the same small saucepan you used for the butter and beer, melt the 3 tablespoons butter. Remove from heat and whisk in mustard, Worcestershire and hot sauce until smooth. Set aside.

In the bottom of a medium bowl, stir together mustard powder, paprika, table salt and several grinds of black pepper. Add shredded cheddar and toss until grated strands are evenly coated with spices. I like to keep this in the fridge until needed so it doesn’t get soft and clumpy, making it harder to sprinkle over the dough in a bit.


Assemble bread: 
Either coat a 9-by-5 loaf pan lightly with butter or a nonstick spray and set aside.

Turn dough out onto a well-floured counter and roll the dough into a 20-by-12-inch rectangle, making sure it doesn’t stick to the counter by lifting sections and re-flouring the counter as needed. Brush the butter-mustard-Worcestershire mixture evenly over the whole surface, right up to the edges. Cut the dough crosswise into 5 strips; each should be 12-by-4 inches. Sprinkle the first one evenly with a heaping 1/4 cup of the grated cheese (which is now fine to leave out at room temperature). Gently place another strip on top of it, coat it with another heaping 1/4 cup of cheese, and repeat with remaining strips until they are stacked 5-high and all of the cheese is used.

With your very sharpest serrated knife, gently — so gently! The lightest sawing motions the weight of the blade will allow! — cut your stack into 6 to 7 2-inch segments (each stacked segment should be 4-by-2 inches). I say 6 to 7 range because while your 12-inch length should clearly yield only 6 2-inch segments, I find that the soft dough stretches so much when you lift and stack it that I end up with 7. Either amount will fit; this is totally not something to fret over.

Arrange stacks of dough down the length of your prepared loaf pan as if filling a card catalog drawer. I make this easier by standing my loaf pan up on its short end to make the next part easier. If, when you finish filing all of your dough stacks, you ended up with less than needed for the dough “cards” to reach the end of the pan, when you return the pan to rest flat on the counter again, just shimmy it a little so the dough centers. It will all even out in the final rise/oven. If you ended up with too many dough cards, before you add the last stack, simply press gently on the dough already filed to make room for it.

Loosely cover the pan with more plastic wrap and set it aside to rise again for 30 to 45 more minutes. Meanwhile, preheat your oven to 350 degrees.

Bake loaf for 25 to 35 minutes, until puffed and brown. Transfer it to a wire rack and let it cool for 5 minutes before flipping it out onto a serving plate/cutting board. Serve warm with cold beer.

Loaf “pulls” apart the easiest when it is hot or warm. If it has cooled beyond the point that the layers wish to easily separate, simply serve it in thin slices. Wrap leftovers in plastic and keep at room temperature for a day. I bet the leftovers would be fantastic reheated with scrambled eggs.

Nutritional Information (for 1/10 of recipe)
271 total calories
14g total fat
27g total carbs
9g protein

Thursday, January 12, 2012

christmas: standing rib roast

For Christmas Day this year, my sister and I were at our Dad and Dana's house. My sister and Dana are not meat eaters (just fish, pescaterians), but Dana still makes meat sometimes for Dad and me. She did a recipe from Emeril Lagasse for a standing rib roast for Christmas dinner, and it was really good. It also looked fancy to cook with its tied string and etc. Since I didn't actually help with the recipe, I don't know if she followed it exactly or what, but I think so. I don't think we had the au just version.


2 heads roasted garlic
3 1/2 teaspoons salt
1 1/2 teaspoon freshly ground black pepper
1 tablespoon finely chopped fresh rosemary leaves
1 tablespoon finely chopped fresh thyme leaves
1 standing rib roast of beef (about 6 1/2 pounds), fat trimmed in 1 strip and reserved
1 1/2 cups red wine, plus 1 more cup if making au jus, optional
1/2 cup beef stock, plus 2 more cups if making au jus, optional

[Total cook time is appx 3 hours, I believe]

Preheat the oven to 450 degrees F.

Separate the heads of roasted garlic into cloves and squeeze the roasted garlic out of the peels. Place the garlic in a small bowl and mash with the back of a fork until mostly smooth. Add 1 teaspoon salt, 1/2 teaspoon pepper, the rosemary and thyme, and stir to blend. Pat this mixture evenly over the top and sides of the roast. Place the trimmed strip of fat over the garlic-herb mixture and tie with kitchen string in several places to secure the fat onto the top of the roast.

Season the roast all over with the remaining 2 1/2 teaspoons salt and 1 teaspoon of pepper. Place the roast in a roasting pan and add 1 1/2 cups red wine and 1/2 cup beef stock to the bottom of the pan. Roast for 20 minutes. Reduce the heat to 350 degrees F and continue to roast to the desired degree of doneness, about 18 minutes per pound for rare and 22 minutes per pound for medium. Let stand at least 5 minutes before carving. De-fat the pan juices and serve alongside the beef.

If making au jus, place the roasting pan on the stove burners over medium-high heat. Add 1 cup red wine and scrape the browned bits on the bottom of the pan with a wooden spoon. Add 2 cups beef stock and season with salt and pepper. Continue to cook until the wine is reduced by half, about 5 minutes. Strain the sauce through a sieve to remove the solids before serving. De-grease, if necessary.

Wednesday, January 11, 2012

christmas party: baked brie + mulled wine

My mom had a little Christmas shindig while I was home, and it was super fun. I helped out with the grocery shopping (mainly to help her from buying everything; I was mostly unsuccessful) and making the baked brie and mulled wine. Both were really simple and easy, but they made me feel like I was making a fancy contribution.

I looked up the baked brie recipe on a couple different sites and they all said pretty much the same thing. The mulled wine recipe was also really basic, and I followed one that my mom set out in a magazine for me.


Baked Brie


1 (8 ounce) wheel Brie cheese
3 tablespoons apricot preserves [whatever flavor you want]
1/2 (17.5 ounce) package frozen puff pastry, thawed [we used crescent rolls, as in Pillsbury]
1 egg white [oops, I used the whole egg I think]


Preheat oven to 350 degrees F (175 degrees C). Lightly grease a cookie sheet.

I didn't really follow this recipe very well, so I'm just going to write down what I actually did. First of all, take out the crescent rolls (or have your step-dad do it if you are a weenie with things that pop). Divide it into two square pieces. Press the seams together so that they don't separate when cooking (you can see that I was lazy in my seam-securing). Place the brie on the center of one of the squares on the cooking sheet. Spread the preserves on top. Place the second square on top of the brie and press the pieces together, tucking the top piece under the brie a bit. Use a knife to cut off the excess pastry. You can be creative and make a design on top or eat it raw, like I chose to.

Beat the egg white, or whole egg if you're me, and brush it on the pastry. Pop that baby in the oven! Bake for 30 minutes, or until the pastry in golden brown. Serve immediately. Eat all of it. What, just me?

Mulled Wine
1 1/2 cups boiling water
1/2 cup granulated sugar
1/2 lemon, sliced
zest of 1 orange
3 cinnamon sticks
3 whole cloves
pinch of nutmeg
1 bottle cabernet sauvignon

Bring water to a boil. Add all ingredients except wine. Stir until sugar dissolves.

Add wine and bring mixture to a simmer for 20 minutes. Do not boil. Because I was serving it hot, I picked out the cloves and then just served it from the saucepan. If you are giving it away (as suggested by the magazine), strain it and let it cool before pouring into gift bottles.